Campaigns
Campaigns serve as the entry point for triggering a virtual agent.
They organize and manage how and when your agents are invoked. Each campaign is linked to a specific agent and acts as the interface through which users interact with that agent during calls.
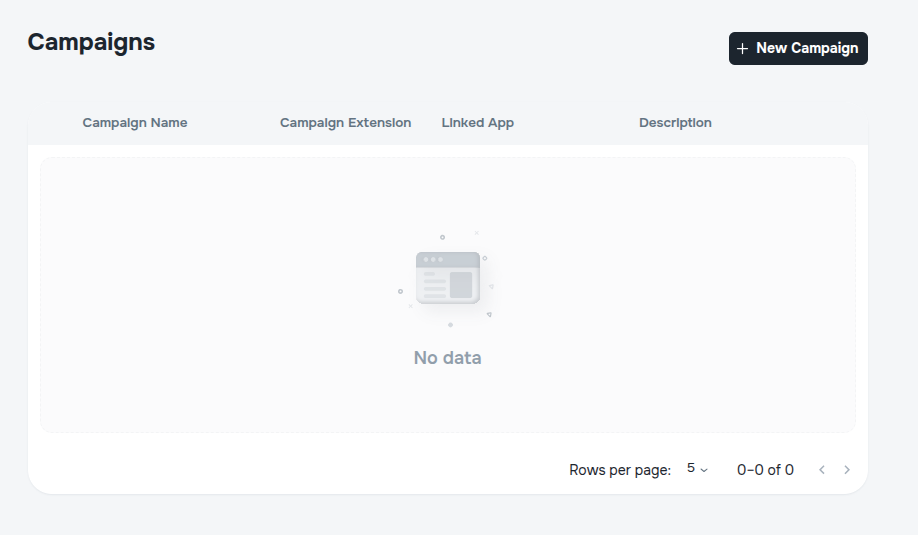
Create Your First Campaign
Click the New Campaign button at the top of the Campaigns page.
You will be redirected to the Create page:
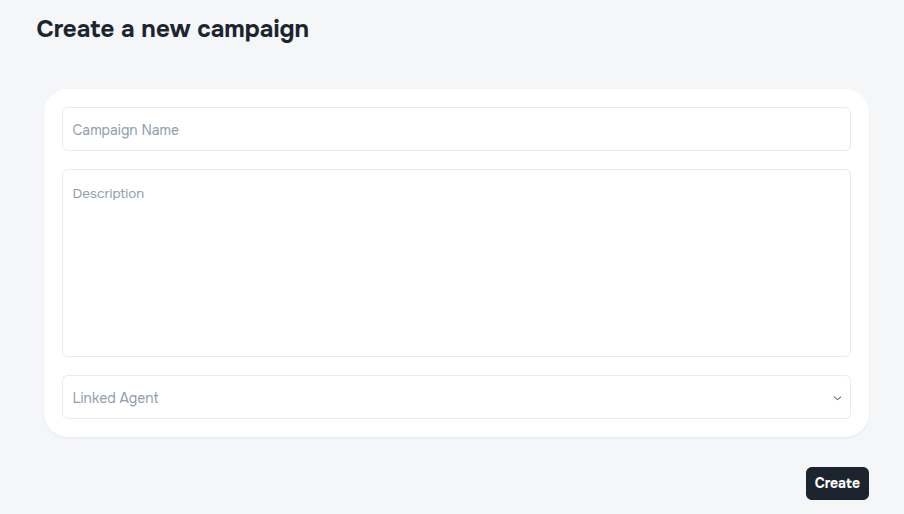
Fill in the following fields:
- Campaign Name – The display name of your campaign. This name helps you identify the campaign on the dashboard and in reports. Choose a name that reflects the purpose of the campaign, such as Support Follow-Up or Winter Promo.
- Description – A short summary of the campaign's purpose or content. This helps your team understand what the campaign does at a glance.
- Linked Agent – Select an existing agent to associate with this campaign. The selected agent will handle all incoming interactions through this campaign.
Click Create to finish setting up your campaign.
Invoke the Campaign
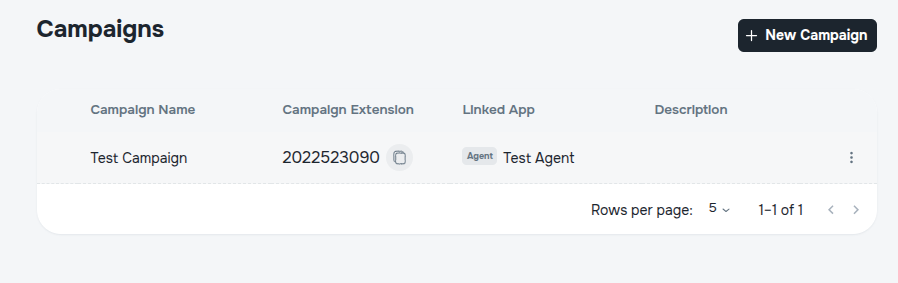
To activate or "invoke" the campaign, copy the Campaign Extension and dial that number. This will trigger the call and route it to the linked agent, as per your integration or PBX setup.
Edit Campaign
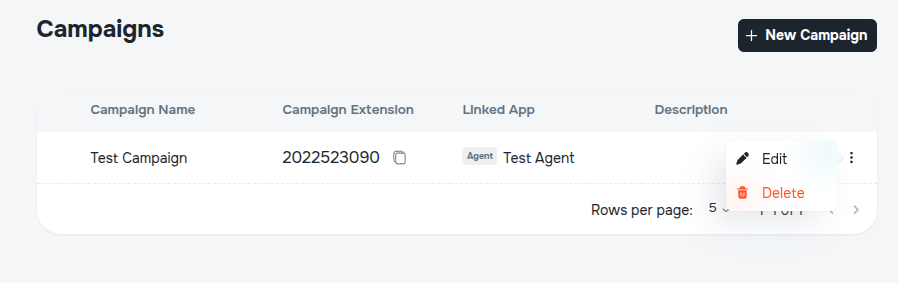
From the campaign list:
- Edit – Opens the campaign settings, allowing you to update the name, description, or linked agent.
- Delete – Permanently removes the campaign.
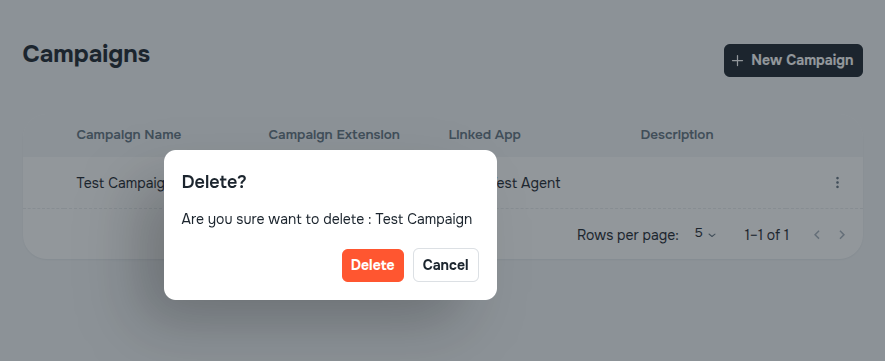
Take care
Once deleted, a campaign cannot be recovered.